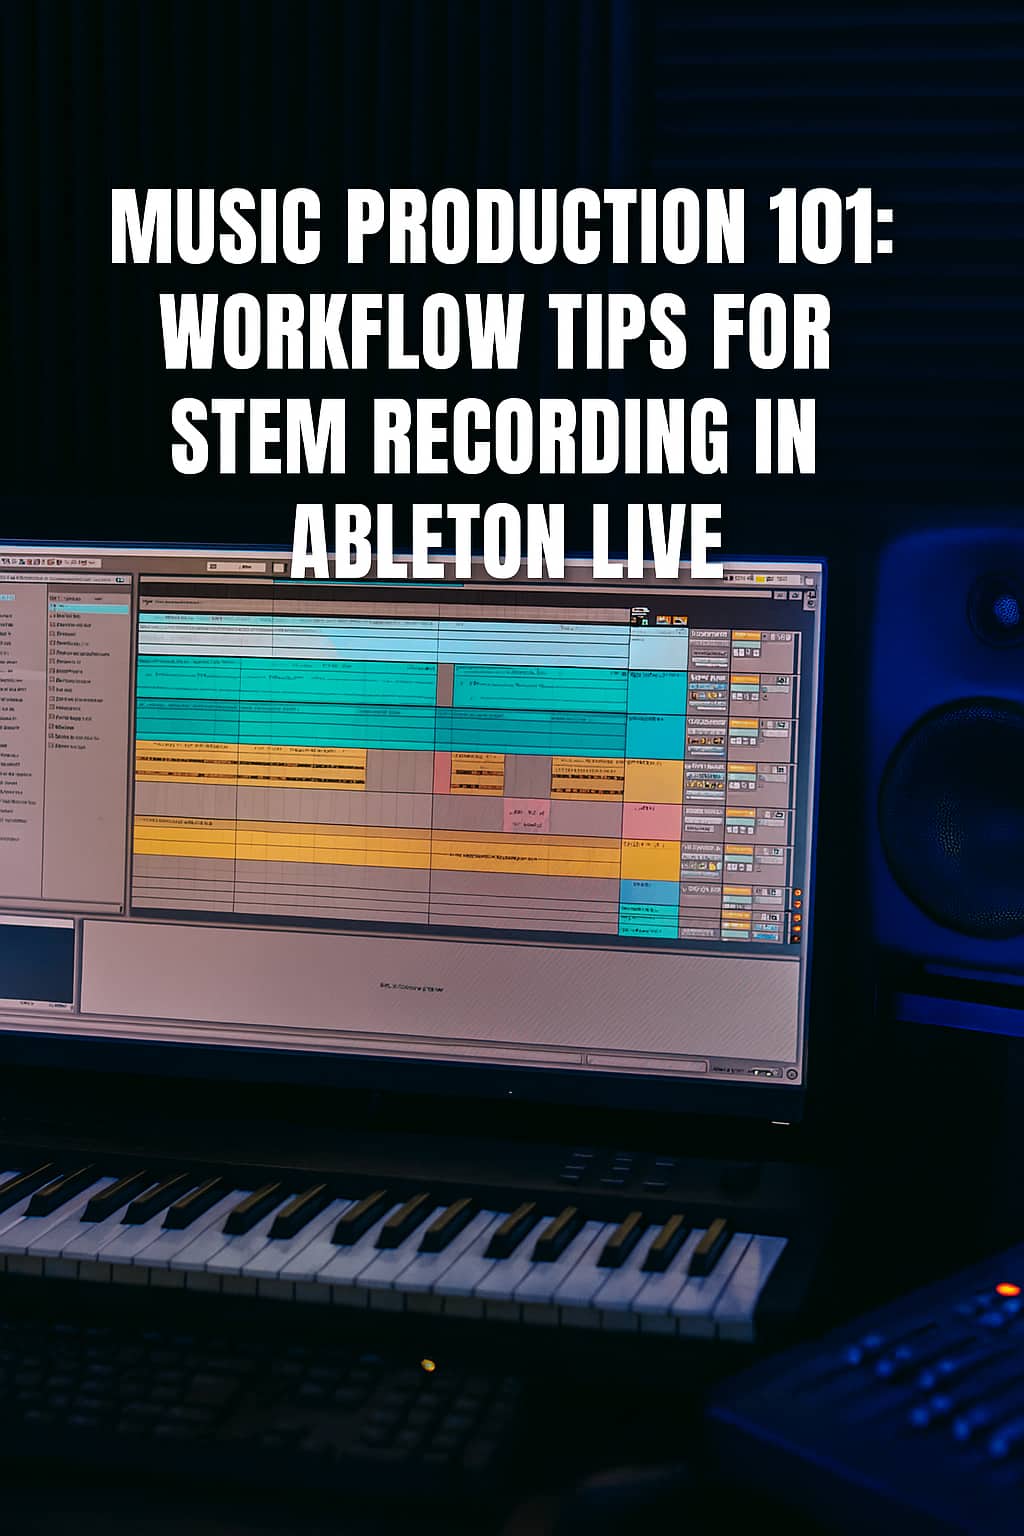
Music Production 101: Workflow Tips for Stem Recording in Ableton Live

Mastering Stems Like a Pro 🎵

One day, I decided to dive into a convo about stems and mixing. Here’s what I asked:
Should I mix stems by frequency spectrum or by elements like drums, bass, synths, etc.? I’m currently grouping by low and top frequencies, with drums separate, and mids sometimes included above 100Hz. Occasionally, I split into low, mid, and top for stems before mastering. What’s the pro approach?

🎚️ Frequency-Based vs. Element-Based Mixing

✅ Element-Based Grouping (Pro Choice)

Most pros group stems by musical elements—drums, bass, synths, vocals—for maximum control and clarity. Why it works:

  • 🎯 Precision Control: Adjust drums’ punch, bass warmth, or vocal clarity independently.
  • 🎛️ Better Processing: EQ, compression, and saturation are easier to dial in.
  • 🔁 Flexible Revisions: Mastering engineers can tweak specific elements without hassle.

Typical Stem Groups:

Stem Group Contents
🥁 Drums Kick, snare, hats, percussion
🎸 Bass Sub bass, synth bass, electric bass
🎹 Synths/Keys Pads, leads, arps, pianos
🎤 Vocals Lead, backing, harmonies
🎧 FX Risers, sweeps, impacts
🎸 Guitars Rhythm, lead, acoustic

⚠️ Frequency-Based Grouping (Use Sparingly)

Grouping by frequency (low, mid, high) can work for experimental or sound design-heavy tracks, but it’s less practical. Challenges:

  • 🎚️ Overlap Confusion: Synths and vocals often span multiple bands.
  • 🎧 Less Musical: Harder to make creative, musical decisions.
  • 🧩 Mastering Limits: Engineers struggle to isolate elements for polish.

🧠 Pro Tips for Stem Printing

  • Stick to element-based groups for clarity.
  • 🎯 Keep stems clean: No clipping, consistent levels, minimal processing.
  • 📁 Export as 24-bit WAV with names like Drums.wav, Bass.wav.
  • 🧪 Include a reference mix to share your vision.

🥁 Reviewing Your Setup

You’re using low and top frequency groups, with drums separate and mids sometimes above 100Hz. This can work but risks overlap and confusion. Try this instead:

  • Drums
  • Bass
  • Synths
  • Vocals
  • FX
  • Optional: Guitars or Pads

🎛️ Why I Record in Ableton Live

I mentioned preferring real-time recording in Ableton Live over exporting for better quality and accuracy. Here’s why it’s a pro move:

✅ Advantages of Resampling

  • 🎯 Captures Live FX & Automation: Records every tweak as you hear it.
  • 🎧 Avoids Glitches: Some plugins misbehave during offline rendering.
  • 🔊 Preserves Integrity: No phase shifts or aliasing from fast exports.
  • 🧠 WYSIWYG: What you hear is what you get.

🧪 Pro Workflow in Ableton

  • Resampling Track: Create an audio track, set input to Resampling, solo the group, and record.
  • Group by Elements: Use musical roles (Drums, Bass, etc.) over frequencies.
  • Export Tips: Save as 24-bit WAV, match project sample rate, include a reference mix.

Pro Insight: Engineers like Andrew Scheps and Fab Dupont swear by element-based stems and real-time recording for analog-style plugins.

🧰 Your Ableton Stem Template

Here’s a pro-level stem recording setup for Ableton Live:

🧱 Track Groups

Group Name Tracks Inside Notes
🥁 Drums Kick, Snare, Hats, Percussion Use Drum Rack or separate tracks
🎸 Bass Sub Bass, Synth Bass Keep mono if needed
🎹 Synths Pads, Leads, Arps, Keys Split melodic vs ambient if desired
🎤 Vocals Lead, Backing, Harmonies Include FX if baked in
🎧 FX Risers, Sweeps, Impacts Split tonal vs noise if needed
🎸 Guitars Rhythm, Lead, Acoustic Only if used

🔴 Resampling Setup

  1. Create an Audio Track (e.g., Drums Stem).
  2. Set Audio From to Resampling.
  3. Solo the group, arm the track, and record.
  4. Repeat for each stem.

Tip: Use Export Audio/Video with “Selected Tracks Only” for offline bounces, but resampling is king for accuracy.

📁 Export Checklist

  • Format: 24-bit WAV
  • Sample Rate: Match project (44.1kHz or 48kHz)
  • Normalize: Off
  • Dither: Off (unless downsampling)
  • Headroom: -3 to -6 dB peak
  • Include: Reference Mix and Tempo Info

🧰 Save as Template

  • Go to File → Save Live Set as Template.
  • Name it Stem Print Mastering Template.
  • Reuse for every project.

This setup will have you prepping stems like a pro! Reach me up if you need a visual diagram or tips for analog mastering chains.

— Eli


Tag: Music Production

  • Music Production 101: Workflow Tips for Stem Recording in Ableton Live

    Music Production 101: Workflow Tips for Stem Recording in Ableton Live

    Mastering Stems Like a Pro 🎵

    One day, I decided to dive into a convo about stems and mixing. Here’s what I asked:
    Should I mix stems by frequency spectrum or by elements like drums, bass, synths, etc.? I’m currently grouping by low and top frequencies, with drums separate, and mids sometimes included above 100Hz. Occasionally, I split into low, mid, and top for stems before mastering. What’s the pro approach?

    🎚️ Frequency-Based vs. Element-Based Mixing

    ✅ Element-Based Grouping (Pro Choice)

    Most pros group stems by musical elements—drums, bass, synths, vocals—for maximum control and clarity. Why it works:

    • 🎯 Precision Control: Adjust drums’ punch, bass warmth, or vocal clarity independently.
    • 🎛️ Better Processing: EQ, compression, and saturation are easier to dial in.
    • 🔁 Flexible Revisions: Mastering engineers can tweak specific elements without hassle.

    Typical Stem Groups:

    Stem Group Contents
    🥁 Drums Kick, snare, hats, percussion
    🎸 Bass Sub bass, synth bass, electric bass
    🎹 Synths/Keys Pads, leads, arps, pianos
    🎤 Vocals Lead, backing, harmonies
    🎧 FX Risers, sweeps, impacts
    🎸 Guitars Rhythm, lead, acoustic

    ⚠️ Frequency-Based Grouping (Use Sparingly)

    Grouping by frequency (low, mid, high) can work for experimental or sound design-heavy tracks, but it’s less practical. Challenges:

    • 🎚️ Overlap Confusion: Synths and vocals often span multiple bands.
    • 🎧 Less Musical: Harder to make creative, musical decisions.
    • 🧩 Mastering Limits: Engineers struggle to isolate elements for polish.

    🧠 Pro Tips for Stem Printing

    • Stick to element-based groups for clarity.
    • 🎯 Keep stems clean: No clipping, consistent levels, minimal processing.
    • 📁 Export as 24-bit WAV with names like Drums.wav, Bass.wav.
    • 🧪 Include a reference mix to share your vision.

    🥁 Reviewing Your Setup

    You’re using low and top frequency groups, with drums separate and mids sometimes above 100Hz. This can work but risks overlap and confusion. Try this instead:

    • Drums
    • Bass
    • Synths
    • Vocals
    • FX
    • Optional: Guitars or Pads

    🎛️ Why I Record in Ableton Live

    I mentioned preferring real-time recording in Ableton Live over exporting for better quality and accuracy. Here’s why it’s a pro move:

    ✅ Advantages of Resampling

    • 🎯 Captures Live FX & Automation: Records every tweak as you hear it.
    • 🎧 Avoids Glitches: Some plugins misbehave during offline rendering.
    • 🔊 Preserves Integrity: No phase shifts or aliasing from fast exports.
    • 🧠 WYSIWYG: What you hear is what you get.

    🧪 Pro Workflow in Ableton

    • Resampling Track: Create an audio track, set input to Resampling, solo the group, and record.
    • Group by Elements: Use musical roles (Drums, Bass, etc.) over frequencies.
    • Export Tips: Save as 24-bit WAV, match project sample rate, include a reference mix.

    Pro Insight: Engineers like Andrew Scheps and Fab Dupont swear by element-based stems and real-time recording for analog-style plugins.

    🧰 Your Ableton Stem Template

    Here’s a pro-level stem recording setup for Ableton Live:

    🧱 Track Groups

    Group Name Tracks Inside Notes
    🥁 Drums Kick, Snare, Hats, Percussion Use Drum Rack or separate tracks
    🎸 Bass Sub Bass, Synth Bass Keep mono if needed
    🎹 Synths Pads, Leads, Arps, Keys Split melodic vs ambient if desired
    🎤 Vocals Lead, Backing, Harmonies Include FX if baked in
    🎧 FX Risers, Sweeps, Impacts Split tonal vs noise if needed
    🎸 Guitars Rhythm, Lead, Acoustic Only if used

    🔴 Resampling Setup

    1. Create an Audio Track (e.g., Drums Stem).
    2. Set Audio From to Resampling.
    3. Solo the group, arm the track, and record.
    4. Repeat for each stem.

    Tip: Use Export Audio/Video with “Selected Tracks Only” for offline bounces, but resampling is king for accuracy.

    📁 Export Checklist

    • Format: 24-bit WAV
    • Sample Rate: Match project (44.1kHz or 48kHz)
    • Normalize: Off
    • Dither: Off (unless downsampling)
    • Headroom: -3 to -6 dB peak
    • Include: Reference Mix and Tempo Info

    🧰 Save as Template

    • Go to File → Save Live Set as Template.
    • Name it Stem Print Mastering Template.
    • Reuse for every project.

    This setup will have you prepping stems like a pro! Reach me up if you need a visual diagram or tips for analog mastering chains.

    — Eli
     

  • Producing A Song with FEELE Records

    Producing A Song with FEELE Records

    🎶 From Vision to Vibe: How FEELE Records Transforms Your Ideas Into Professional Hits

    (more…)

    🎶 From Vision to Vibe: How FEELE Records Transforms Your Ideas Into Professional Hits

    (more…)

    🎶 From Vision to Vibe: How FEELE Records Transforms Your Ideas Into Professional Hits

    (more…)